
FIELD GUIDEMORTAL SHELL II
Mortal Shell II Boss Guides
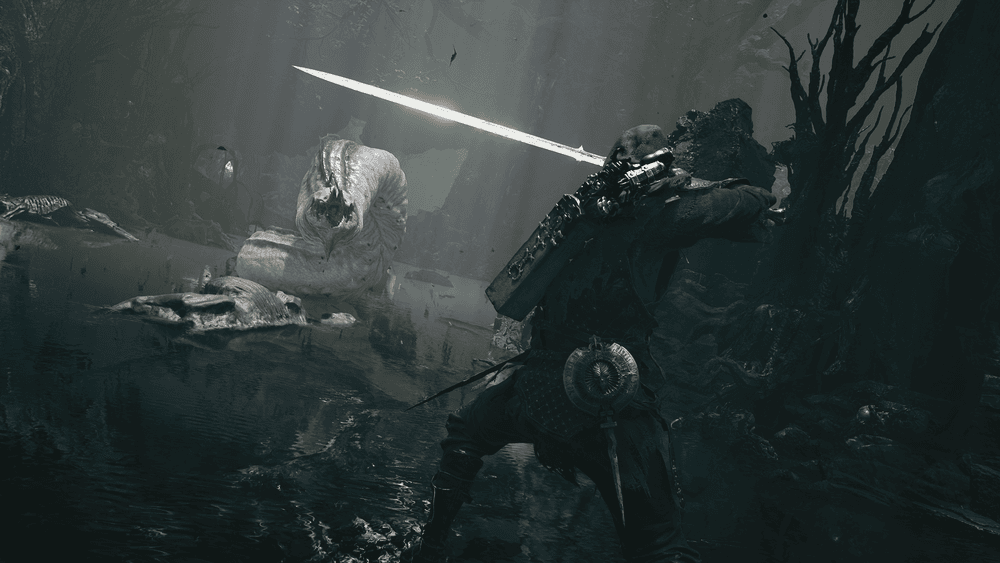
An official encounter showing a long sword and a pale creature. The gallery does not identify the opponent or establish a boss strategy.
Official Mortal Shell II gallery© Playstack and Cold Symmetry
Solnir Stillblade — The First Boss
Solnir Stillblade is the first boss shown in the 11-minute gameplay reveal. The sequence: after Eredrim explores the overworld and picks up an item that reveals Beacons across the map, players encounter and defeat Solnir Stillblade — and the boss fight is also where Hardening was briefly shown in action, Eredrim turning to stone to negate incoming damage mid-fight.
Defeating Solnir Stillblade leads directly to the first Beacon, which when interacted with lets you rest, cleanse it, and travel to the Marrow Keep — the game's central hub. In other words: this boss is the gatekeeper of the hub, and the intended skill-check for the opening hours.
Turn a boss attempt into useful notes
Editorial checklist; each boss needs its own observed tactics.
Identify the encounter
Record the boss name shown in-game and your installed version.
Watch the attack
Note its cue, reach and timing before treating an opening as safe.
Test one response
Keep your equipment consistent and try a repeatable response.
Keep what worked
Record successful openings and failed assumptions for the next attempt.
The Lost Child & the Tar Golem (Search Questions)
Real player searches reference a boss called "the Lost Child" — including searches for a "lost child boss cheese" — and first-time kills of a tar golem. These names do not appear in our official sources, so we cannot yet write verified move-sets, weaknesses or cheese strategies for them. They are on this page as questions to investigate, not as a verified boss roster.
Combat Tools Shown in the Reveal
The reveal shows the combat tools below. It does not establish that every tool works against every boss or that every boss can be executed. No stamina bar: attack, dodge and jump freely — the pace of boss fights is limited only by your reads. Hardening: turn to stone to negate all incoming damage during attack animations, dodges, after a missed parry, or even mid-air; it has a short cooldown, and you remain frozen while the button is held or until an enemy breaks the stone.
Posture-breaking and critical strikes: once an enemy's posture is broken, the revealed combat system allows critical hits or executions in applicable encounters. Boss-specific availability still needs checking. Bring Tarstones (like the poison-infusing Serpent Stone, 4 strikes at base level) and the right weapon for the matchup; the confirmed weapon types — Heavy Sword, Hammer, Chisel, Scythe, Greatsword, Greataxe, Crossbow, and Hand Cannon — are usable regardless of your Shell.
Big Enemies Are Everywhere
The announcement trailer showed large enemies, presumably bosses, towering over the Harbinger, alongside returning creatures like the Wormfish. With 60+ dungeons in the game, the dungeon count alone does not establish how many bosses there are. For the general combat system breakdown, see our difficulty guide; for choosing your loadout, the builds guide.